Making sure your bath is properly sealed is important to stop water seeping out around the sides & causing damage to your bathroom floor. Whether you've had one for a long time, you're installing a new one or having a bathroom refurb, here's how to seal (or reseal) a bath.
Before you get started, here's a list of things you're going to need before you get started
Instructions
When choosing a sealant for your bath, make sure to choose an appropriate one. Sealants come in different colours and have different benefits so you'll be able to choose the right one depending on what it is you're looking for.
Step 1 - Give the edges of your bath a quick wipe down before starting. Making sure the area is dry, grab the masking tape and place it below and above the area you're wanting to apply the sealant. Using masking tape helps you to be more accurate & stops extra sealant spilling over on to your bath & tiles.
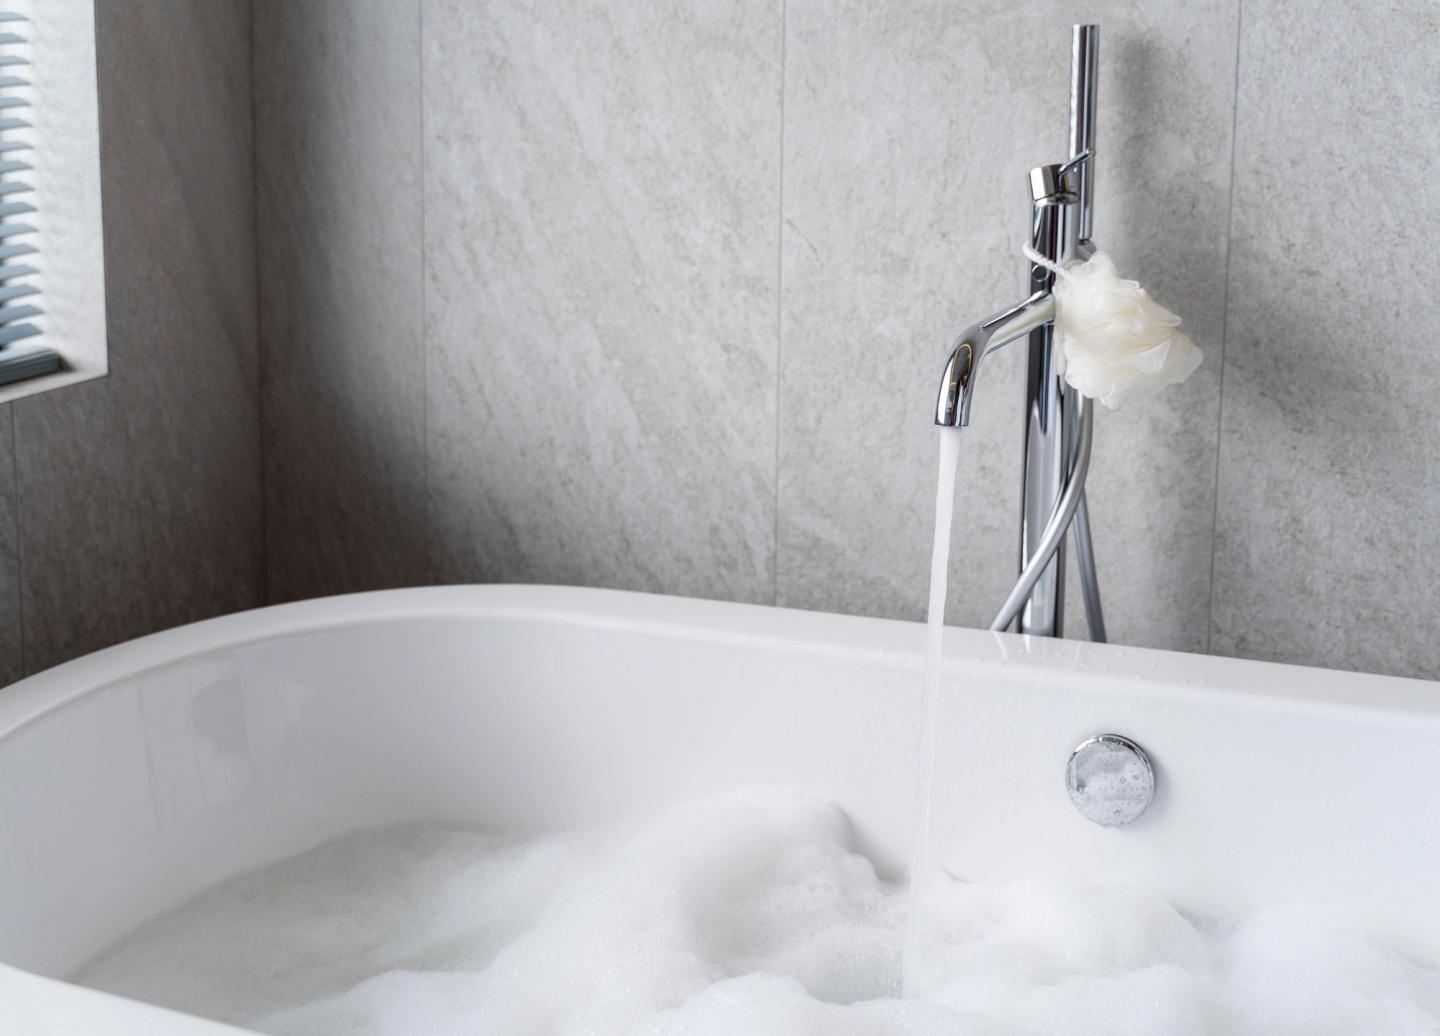
Step 2 - This step might sounds strange but it's an important one you don't want to miss. Fill your bath with water - having the bath full means the sealant can set correctly. If you don't do this, later on when you have a bath, the sealant could crack due to the weight of both the water & yourself.
Step 3 - Next, using scissors, cut the sealant nozzle at a 45 degree angle and attach it securely on to the tube. Once that's done, place the sealant in a sealant gun which will help with easy & direct application. Starting from one corner of your bath, squeeze the trigger of the sealant gun with even pressure & begin to apply the product. Make sure you apply the sealant in one go for a neat finish & try not to squeeze the gun too hard so you don't push out more sealant then you need.
Step 4 - After applying, use your smoothing tool to smooth out the sealant, making sure you its even & at an angle so that any water can flow back towards the bath tub. When it's all smoothed out, let the sealant set. The type of sealant you have depends on the setting time so be sure to check this information before you get to work. Leave the water in the bath as the sealant dries & when it's dry, then you can let the water out and voila! You have sealed your bath!
Resealing a bath
If you're looking to reseal your bath due to mould or age, here's what you need to do to remove your current sealant.
Grab your craft knife or sealant remover tool and use it cut away the sealant, starting from the corners. As the old sealant starts to come away, gently pull & remove it by hand so you don't cause any damage to your bath or tiles. When it's all come away, follow the steps above to apply the new sealant.
FAQs
- Can I put new sealant over old sealant? - We wouldn't advise it! Not only will it look messy but the cracks and splits will still be there so water can still leak out. It'll be best to remove the old sealant and reapply.
- What else can I use instead of silicone sealant around my bath? - If you don't want to use silicone around your bath, you can use self-adhesive sealing strips too.
- Can I buy sealant at HSS? - Absolutely. We have a range of sealants & sealant accessories available for you to buy online.
Get in Touch
For any sealant related questions or queries, get in touch with our live chat team who are on hand and happy to help or pop in to your local HSS branch.


