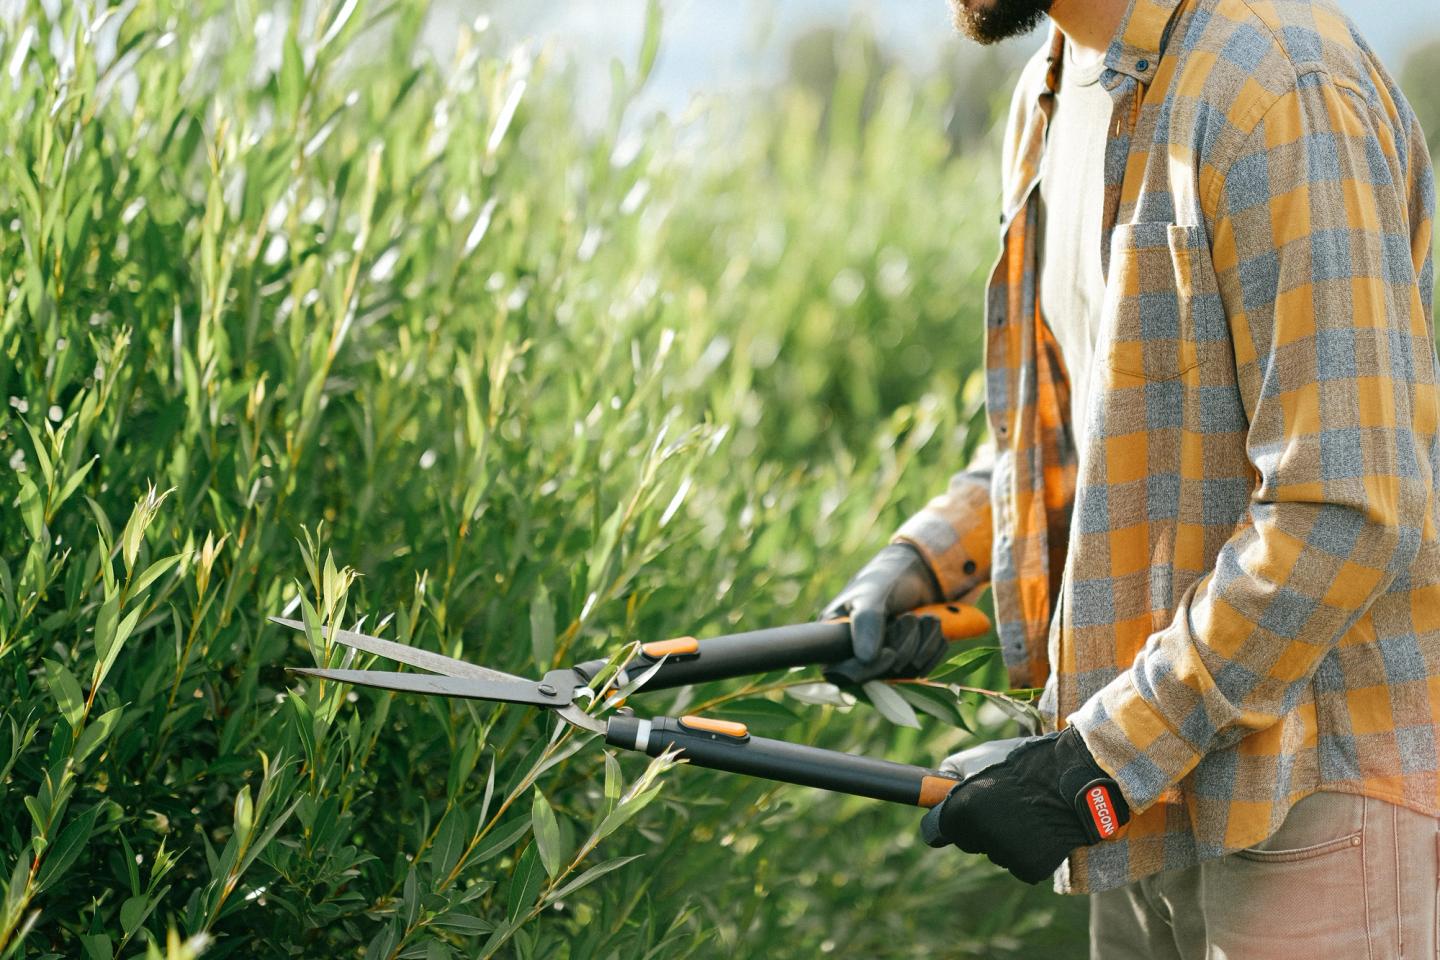
Keeping your garden shears and other cutting tools sharp and well maintained is important for your safety as well as to help make the job of cutting bushes and shrubs easier. Cutting with sharp garden shears also promotes healthier growth of your plants. A bit of effort will go a long way to making that job of tidying up your outdoor areas, follow this simple step-by-step guide on how to sharpen garden shears.
What Do I Need to Sharpen Garden Shears?
Before you make a start you’ll need these items, however depending on the state of the blades you may not need all of them.
- Work gloves
- Flat file
- Wire brush / steel wool
- Rubbing alcohol
- WD-40
- Rag
- Lubricating tool oil
Step-by-Step Guide to Sharpening Garden Shears
Step 1: Always start with safety. Put on your work gloves to protect your hands from any accidental nicks or cuts.
Step 2: If your shears can be taken apart it's best to disassemble the blades from the handle now as it will make the job of sharpening a lot easier. Take care whilst doing this as the blades may still be able to cut you despite being dull. A top tip is to take pictures as you go if there are multiple pieces to make re-assembly that bit easier.
Step 3: Begin cleaning your shears with the rag and rubbing alcohol to remove stubborn sap or dirt. You can then use a wire brush or steel wool to get rid of any rust; it may help to use a little WD-40 here if the rust isn’t shifting. It’s important to get rid of any rust or debris before you start sharpening them, and make sure the shears are dry before you start the next step.
Step 4: Once clean, open your shears as widely as possible. Then, take the flat file and place it on the bevelled edge. Sharpen the cutting edge by pushing the flat file across the angled, or bevelled edge in one direction. Ensure you maintain the same angle as the bevel across the entire blade, and never use the file on the flat edge as this will ruin the cutting action of the shears. Work slowly to make sure you are fully in control.
Step 5: Repeat this process until you're content with the sharpness. Check the sharpness by making a test cut on a piece of light cardboard or small twig.
Step 6: Finally, apply a small amount of lubricating oil to the blades, WD-40 or linseed oil work perfectly here, to prevent rusting and ensure a smooth operation. If you took the shears apart it’s time to carefully re-assemble them ensuring any fixings are not too tight otherwise the shears will become stiff and difficult to operate.
How Often Should I Sharpen My Garden Shears?
This depends on how frequently you use them. If you use them weekly then ideally putting aside time monthly will help them work their best. If you only use them occasionally then a few times a year should be sufficient.
Ideally you should clean your shears after every use to help keep them performing their best. But if you find you have accidentally left them outside or got distracted whilst using and didn’t put them back in the shed just follow the steps in the guide above to get them back to working hard for you.
Once your hedge trimmer blades and surfaces have been cleaned down, keep it stored in your garden shed, garage or in another safe space around your home until you need to use it again.
If you need some help with how to cut & trim your garden hedges, take a look at our dedicated article for some tips and advice.
Need to upgrade your cutting equipment? Check out our selection of garden shears here, we have plenty to choose from that are available to buy, on our website today.


